In an increasingly interconnected world, catering to diverse audiences has become crucial for businesses and organizations seeking global reach. Localization, the process of adapting software or content to meet the linguistic, cultural, and regional preferences of specific target markets, plays a pivotal role in achieving this objective. In this blog, we will explore the significance of localization in web applications, discuss its benefits, and provide insights on how to effectively implement localization strategies. Please join me on this journey as we uncover the transformative power of localization in enhancing user experience and expanding your digital footprint across borders.
I am going to use a simple application written in ASP.NET Core. The code for the app can be found here. This tutorial assumes that .NET CLI is installed on your machine and instructions to install it can be found here. Some level of knowledge of programming principles is recommended.
Navigate to a directory of your choosing where you can create the project; and then, run the following to create the sample_app application.
                                mkdir sample_app
                                cd sample_app
                                dotnet new mvc -au None
The commands above created a root directory for the sample_app project and then create a MVC project without authorization in that directory. We choose no authorization for simplicity as this tutorial does not require Identity to be set up. Also, for the sake of simplicity, no database service is required for this project. In the project root directory, try to run the following:
dotnet run
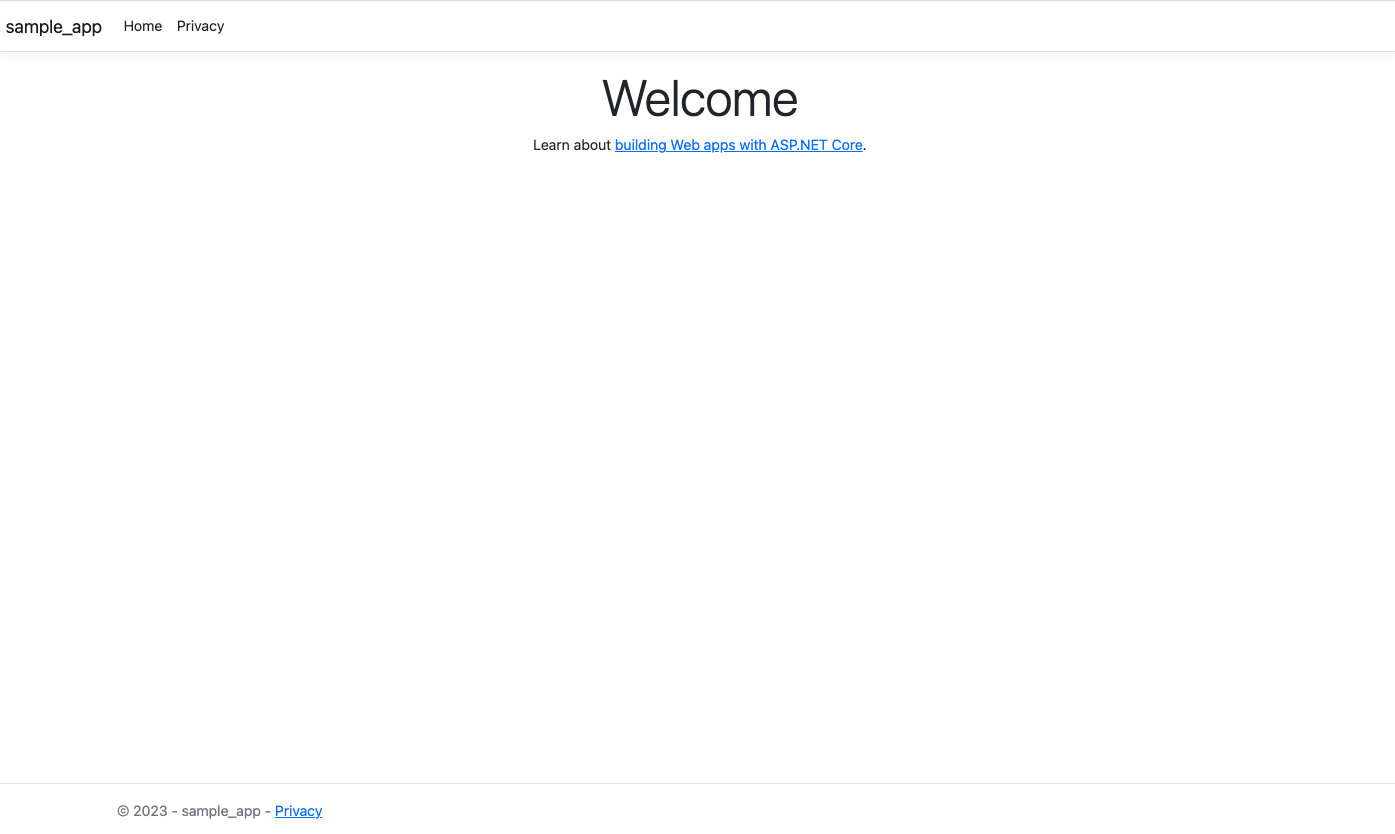
The server should start and you should see the default ASP.NET Core page rendered. In my case, the server is listening on http://localhost:5010, so when I go to that URL, I can see the following page rendered. Now that we have the project created, we will need to set up a few more things.
First, let’s create a directory in the root directory, and call it Services. In this directory, we create a file called SharedResources.cs. Add the following code to the file:
                                using System;
                                using Microsoft.Extensions.Localization;
                                using System.Reflection;

                                namespace sample_app.Services
                                {
                                    public class SharedResource
                                    {
                                    }

                                    public class LanguageService
                                    {
                                        private readonly IStringLocalizer _localizer;
                                        public LanguageService(IStringLocalizerFactory factory)
                                        {
                                            var type = typeof(SharedResource);
                                            var assemblyName = new AssemblyName(type.GetTypeInfo().Assembly.FullName);
                                            _localizer = factory.Create("ShareResource", assemblyName.Name);
                                        }
                                        public LocalizedString Getkey(string key)
                                        {
                                            return _localizer[key];
                                        }
                                    }
                                }
Essentially, the file above creates a language service (the LanguageService method) and then another method to find the translated values within a particular language using a key, hence the LocalizedString method.
Now, we are ready to register the service created above in the Program.cs file. The Program.cs file should be in your root directory. This is also the step in which we specify which languages and cultures our website will support. For this sample_app, we are going to use just English (US) and Spanish (Spain). In other words, this is the step where we localize the content of our website. This is called Localization. As a result, we add the following code to the Program.cs file:
                                // Other service registration code

                                // Localization (en-US and es-ES)
                                #region Localization
                                builder.Services.AddSingleton<LanguageService>();
                                builder.Services.AddLocalization(options => options.ResourcesPath = "Resources");
                                builder.Services.AddMvc().AddViewLocalization().AddDataAnnotationsLocalization(options => {
                                    options.DataAnnotationLocalizerProvider = (type, factory) => {
                                        var assemblyName = new AssemblyName(typeof(SharedResource).GetTypeInfo().Assembly.FullName);
                                        return factory.Create("ShareResource", assemblyName.Name);
                                    };
                                });

                                builder.Services.Configure<RequestLocalizationOptions>(options =>
                                        {
                                            var supportedCultures = new List<CultureInfo>
                                            {
                                                new CultureInfo("en-US"),
                                                new CultureInfo("es-ES"),
                                            };
                                            options.DefaultRequestCulture = new RequestCulture(culture:"en-US", uiCulture: "en-US");
                                            options.SupportedCultures = supportedCultures;
                                            options.SupportedUICultures = supportedCultures;
                                            options.RequestCultureProviders.Insert(0, new QueryStringRequestCultureProvider());
                                        });
                                #endregion

                                // Other app settings code

                                // App Localization
                                app.UseRequestLocalization(app.Services.GetRequiredService<IOptions<RequestLocalizationOptions>>().Value);

                                // More app settings code
Now that we have registered our language service, before we start creating the resources to translate the website contents, we need to find a way to toggle between languages and cultures. In the ~/Views/Shared directory, let’s create a partial view file and call it _SelectLanguagePartial.cshtml that will help us do just that. Add the following content to that file:
                                <div class="dropdown">
                                    <button type="button" class="btn btn-default dropdown-toggle" data-bs-toggle="dropdown">Language</button>
                                    <ul class="dropdown-menu">
                                        <li>
                                            <a asp-controller="Home" asp-action="ChangeLanguage" asp-route-culture="en-US" class="dropdown-item">
                                                <i class="flag-icon flag-icon-us"></i>English
                                            </a>
                                        </li>
                                        <li>
                                            <a asp-controller="Home" asp-action="ChangeLanguage" asp-route-culture="es-ES" class="dropdown-item">
                                                <i class="flag-icon flag-icon-sp"></i>Español
                                            </a>
                                        </li>
                                    </ul>
                                </div>
The file above allows us to have a dropdown toggle where the user can toggle between en-US and es-ES languages and cultures. But we are not done yet, it needs to be visible, so let’s add that partial view file to the _Layout.cshtml file, located in the same directory. Feel free to add it to any part of the file as you see fit as long as it is within the "body" tag:
                                <div class="justify-content-end">
                                    <div class="dropdown border-right px-3">
                                        <partial name="_SelectLanguagePartial" />
                                    </div>
                                </div>
The reason we add the partial view file in the _Layout.cshtml file is because ultimately you would want the site visitors to be able to translate any page of the website. Therefore, rather than adding it to every page, we just add it to the _Layout.cshtml file and let every page derive from it so it shows up everywhere.
At this point, we have created the LanguageService (~/Services/LanguageService.cs) service and registered it in Program.cs. We also set up a toggle for the languages in our LanguageService service. We will need one more thing before we can inject the service in the project, essentially making it ready to use. Let’s create one more directory in the project root directory and call it Resources. In this directory, we will create 2 files, known as resources files, that will contain our page content in both English and then Spanish. This link contains documentation on how to create and work with resource files (RESX) in .NET. We will call the resource files ShareResources.en-US.resx and ShareResource.es-ES.resx, repectively. We will have 4 keys in each file as such:
| Key | Value |
|---|---|
| index_page_title | Welcome |
| index_page_content | Hello, this is our sample app to demonstrate how to adapt web app to various cultures. |
| privacy_page_title | Privacy policy |
| privacy_page_content | Here is our privacy policy. Please read it thoroughly! |
| Key | Value |
|---|---|
| index_page_title | Bienvenida |
| index_page_content | Hola, esta es nuestra aplicación de muestra para demostrar cómo adaptar la aplicación web a varias culturas. |
| privacy_page_title | Política de privacidad |
| privacy_page_content | Aquí está nuestra política de privacidad. ¡Por favor, léalo detenidamente! |
We are now ready to inject the service in our project. To do this, let us make some changes to the Home Controller file (~/Controllers/HomeController.cs). We inject the service, create a ViewBag.IndexPageContent in the Index() method and a ViewBag.PrivacyPageContent in the Privacy() method that will contains our translated texts, and then add an extra method called ChangeLanguage() that will take the language being toggled by the user as argument before rendering the Index page content. The contents in the file should look like this:
                                using System.Diagnostics;
                                using Microsoft.AspNetCore.Localization;
                                using Microsoft.AspNetCore.Mvc;
                                using sample_app.Models;
                                using sample_app.Services;

                                namespace sample_app.Controllers;

                                public class HomeController : Controller
                                {
                                    private readonly ILogger<HomeController> _logger;
                                    private LanguageService _localization;

                                    public HomeController(ILogger<HomeController> logger, LanguageService localization)
                                    {
                                        _logger = logger;
                                        _localization = localization;
                                    }

                                    public IActionResult Index()
                                    {
                                        ViewBag.IndexPageContent = _localization.Getkey("index_page_content");
                                        return View();
                                    }

                                    public IActionResult Privacy()
                                    {
                                        ViewBag.PrivacyPageContent = _localization.Getkey("privacy_page_content");
                                        return View();
                                    }

                                    [ResponseCache(Duration = 0, Location = ResponseCacheLocation.None, NoStore = true)]
                                    public IActionResult Error()
                                    {
                                        return View(new ErrorViewModel { RequestId = Activity.Current?.Id ?? HttpContext.TraceIdentifier });
                                    }

                                    #region Localization
                                    public IActionResult ChangeLanguage(string culture)
                                    {
                                        Response.Cookies.Append(CookieRequestCultureProvider.DefaultCookieName, CookieRequestCultureProvider.MakeCookieValue(new RequestCulture(culture)), new CookieOptions()
                                        {
                                            Expires = DateTimeOffset.UtcNow.AddYears(1)
                                        });
                                        return Redirect(Request.Headers["Referer"].ToString());
                                    }
                                    #endregion
                                }
We have successfully injected the service into the controller and made use of it in the controller methods, we are now ready to visualize the page contents. To do that, we just need to replace the contents in ~/Views/Home/Index.cshtml and ~/Views/Home/Privacy.cshtml files with the following, respectively:
                                @{
                                    ViewData["Title"] = _localization.Getkey("index_page_title");
                                }

                                <div class="text-center">
                                    <h1 class="display-4">@ViewData["Title"]</h1>
                                    <p>@ViewBag.IndexPageContent</p>
                                </div>
                                @{
                                    ViewData["Title"] = _localization.Getkey("privacy_page_title");
                                }

                                <h1 class="display-4">@ViewData["Title"]</h1>
                                <p>@ViewBag.PrivacyPageContent</p>
Now, if we build the project and run the “dotnet run” command again, we should be able to see both Home and Privacy pages updated with the appropriate translated content when a language is toggled.
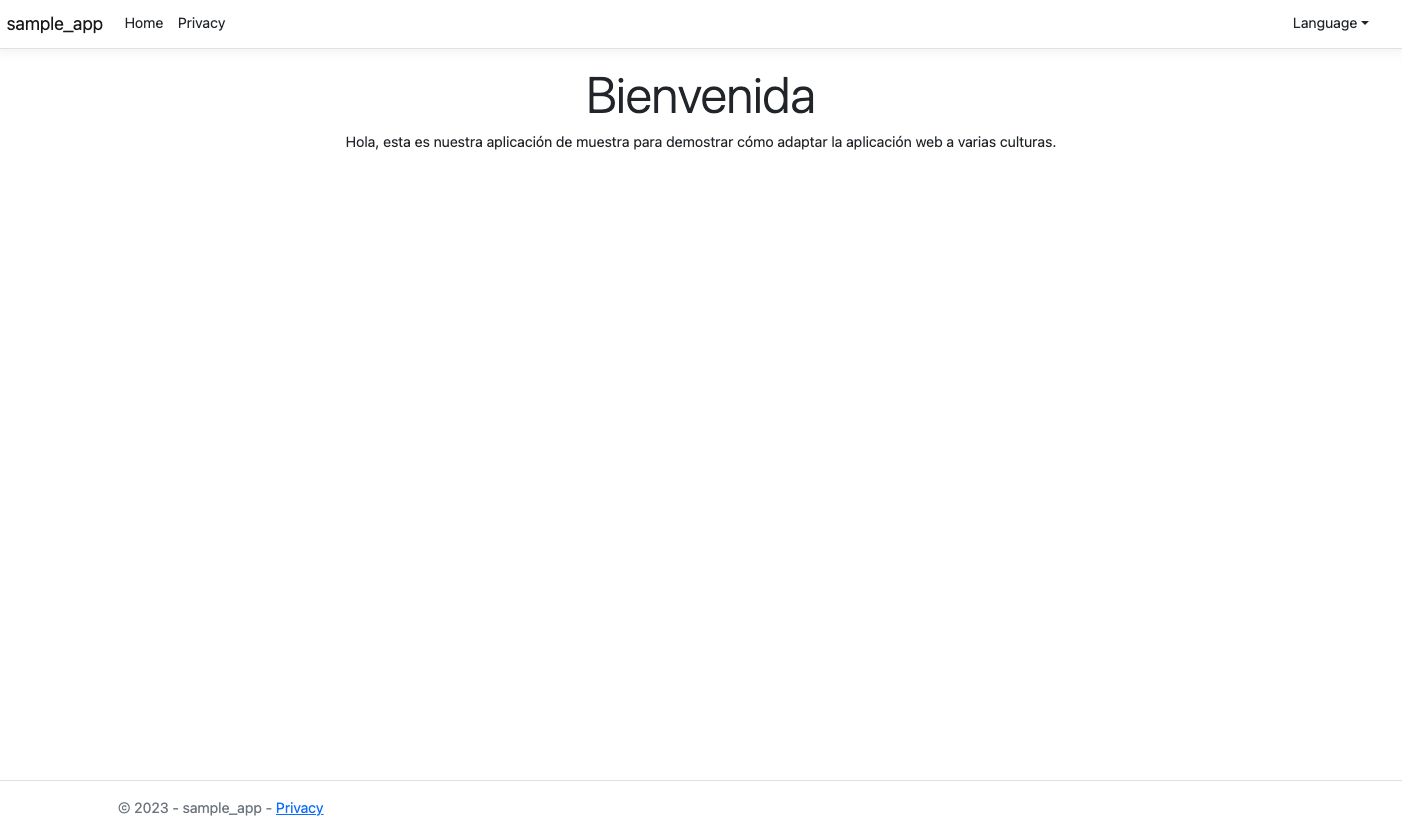
We have successfully shown that it is possible to adapt our website to both English and Spanish languages and cultures. We have used a simple and very basic app to show that but this method can also be used in larger scale projects. We used ASP.NET Core to show this but it is also possible to use another web framework or programming language to accomplish the same thing, since it is basically the same idea. Ultimately, I hope you find this post useful and applicable in your larger scale projects and would love to get some feedback or insights as to where this process can be improved or not.